
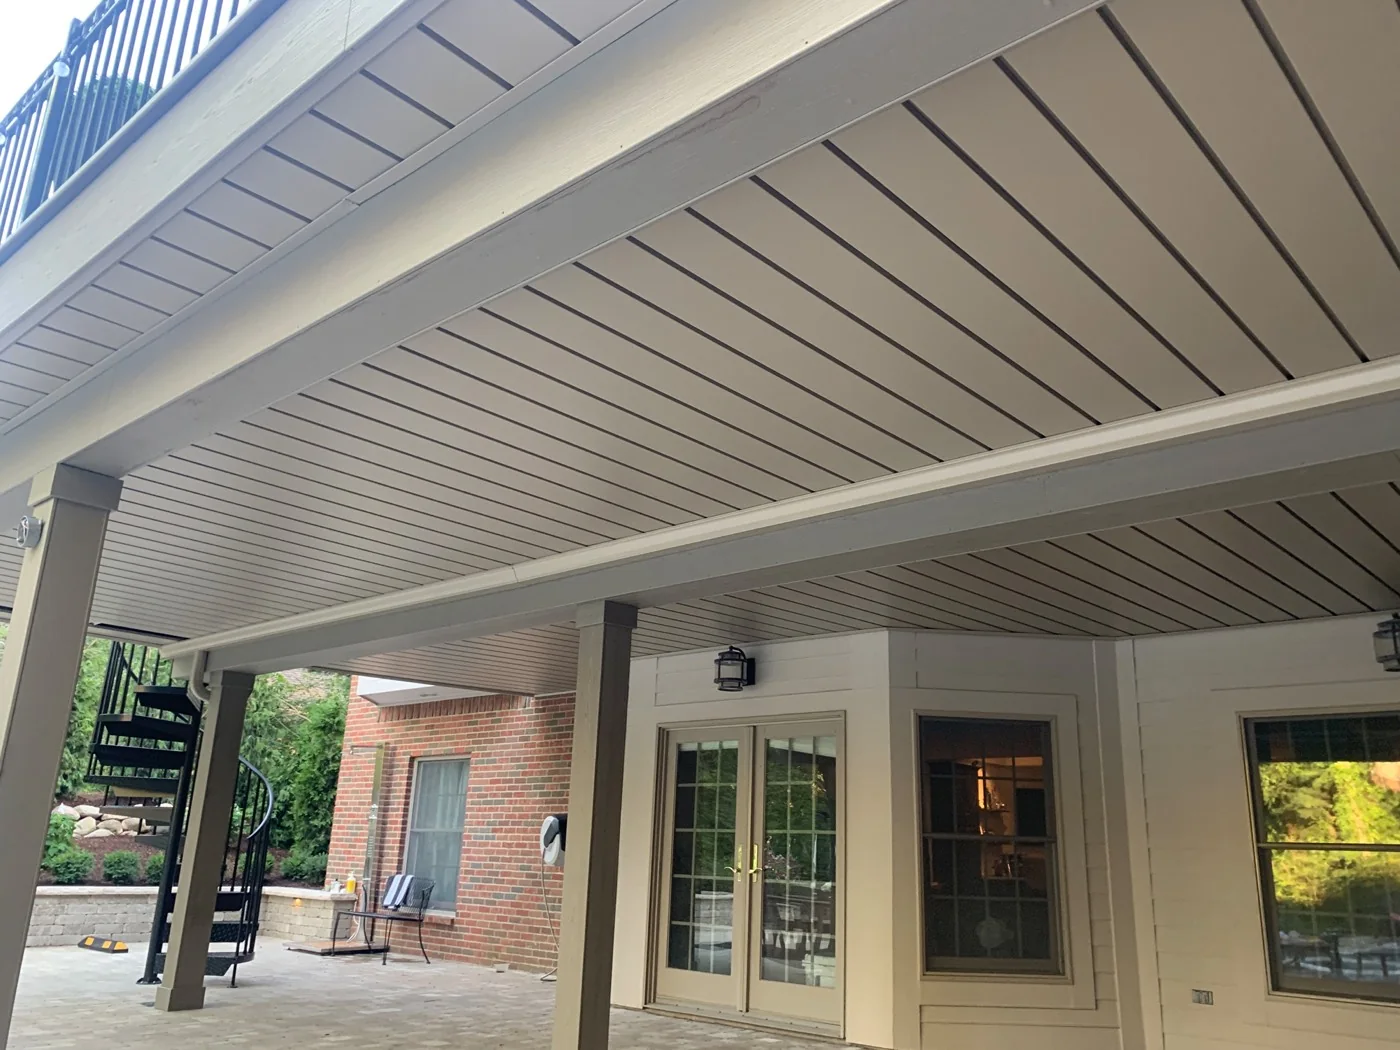
Professional installation overview
Plan the water path. Build the finish around it.
A successful under deck ceiling starts with the deck conditions and drainage destination, then coordinates flashing, gutter, panels, accessories, and finish details as one system.
How to use this guide
Understand the sequence before installation day.
This page provides a high-level map of the Under Deck Oasis installation process. Detailed field conditions, fastening patterns, fabrication requirements, and accessory details must be confirmed with current Under Deck Oasis training materials and the project lead.
Installation involves elevated work, metal fabrication, drainage design, and coordination with electrical components. System assembly should be completed by trained personnel using appropriate access and safety equipment.
Installation sequence
Six coordinated phases.
The precise order can change with deck geometry, but each project should address these core phases.
- 01
Review the deck
Confirm joist direction, beam and ledger conditions, stairs, posts, cantilevers, deck height, access, and the areas that need protection.
- 02
Plan drainage and layout
Select the drainage destination and establish the ceiling direction, high point, gutter edge, panel pitch, and downspout route before materials are cut.
- 03
Prepare flashing and perimeter details
Coordinate pan flashing, over flashing, side caps, beam treatments, walls, and transitions so water remains inside the planned drainage path.
- 04
Set the gutter and pitch
Establish gutter position and slope, then verify that the carrier and panel layout can maintain consistent drainage across the ceiling.
- 05
Install carriers and panels
Sequence the aluminum carriers and interlocking panels while maintaining alignment, pitch, clean joints, and coordinated openings for approved accessories.
- 06
Finish and inspect
Complete trim and downspout details, remove debris, test drainage, review transitions and penetrations, and walk the finished space with the project lead.
Plan each part
Use the supporting resources.
Measurements, equipment, accessory locations, and field training all inform the final installation plan.
Let the Under Deck Oasis team review your deck.
Share photos and measurements so the installation approach can be planned around the actual structure.
Contact the team